Monday 21 April 2014

It's done!.. well almost.

 I still need running gear and the shell etc but the chassis is built.


 I also hated the finish on the black screws. I love the stealth black look but these were pitted, the oxide was weird and had gone white in some places.
 So I pulled it all apart again and polished them all.
 Well almost all, I left a few black. ( And yes I've cleaned the wax out of the battery slot after seeing this. )


 Also 1/12th pan cars look huge in photos but really they're tiny.
This is next to my 1/10th VDF just to show you how small they are.

Anyway it's been a lovely build. Carbon work was a bit tiresome but well worth it. Only cons I had with the build were the screws really. Other than that, a flawless kit.

Friday 18 April 2014

Almost there

 Page 3 to almost done.
 Page 3 gives you the damper tubes and side springs.


 Sorry for the lack of photos as I was too busy building the super small front end.
 Parts were a little bit tight. Front king pins needed to be polished a lot to get them to move smoothly and also the steering knuckles needed to be reamed a little.
 Other than that the front end is silky smooth with no slop at all.

 The ball diff is like any other, only really change is no trust bearing. Just an outer ball bearing. No special tricks needed here.

And it's almost done. Well the chassis anyway, I still have no running gear for it etc. That will come soon though. All that's left is a few little details, a last polish on the carbon and to be detailed for any minor things I missed to have a super clean build.

Wednesday 16 April 2014

Carbon attitude

 At last after 2 days of work. I have the main chassis and motor pod plates sealed to perfection.

 Page two gives us the motor pod 95% build and it bolted onto the chassis.


 Also note the tooling marks on the bulkheads. Very noticeable in person, not too pleased with this but it's a race car not a show car so it's not that big of a deal.
I also cut the lipo holder things that get in the way of removing the battery with ease off.
http://www.rctech.net/forum/12331263-post507.html
http://www.rctech.net/forum/12331595-post508.html

Getting there, in an obsessive OCD way.

Tuesday 15 April 2014

Time for something out of the blue.

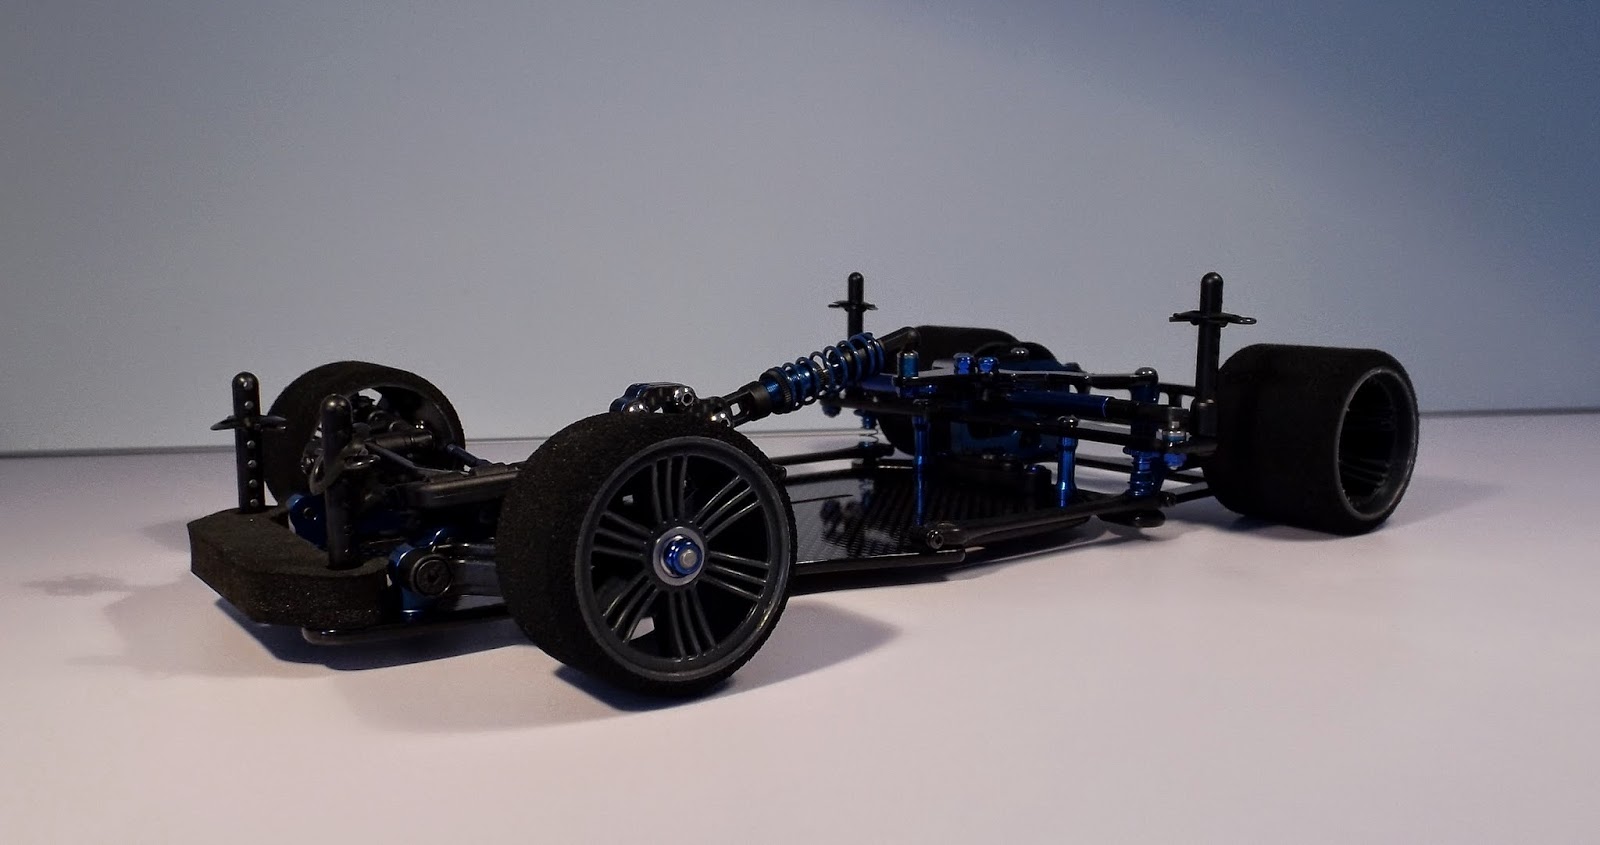
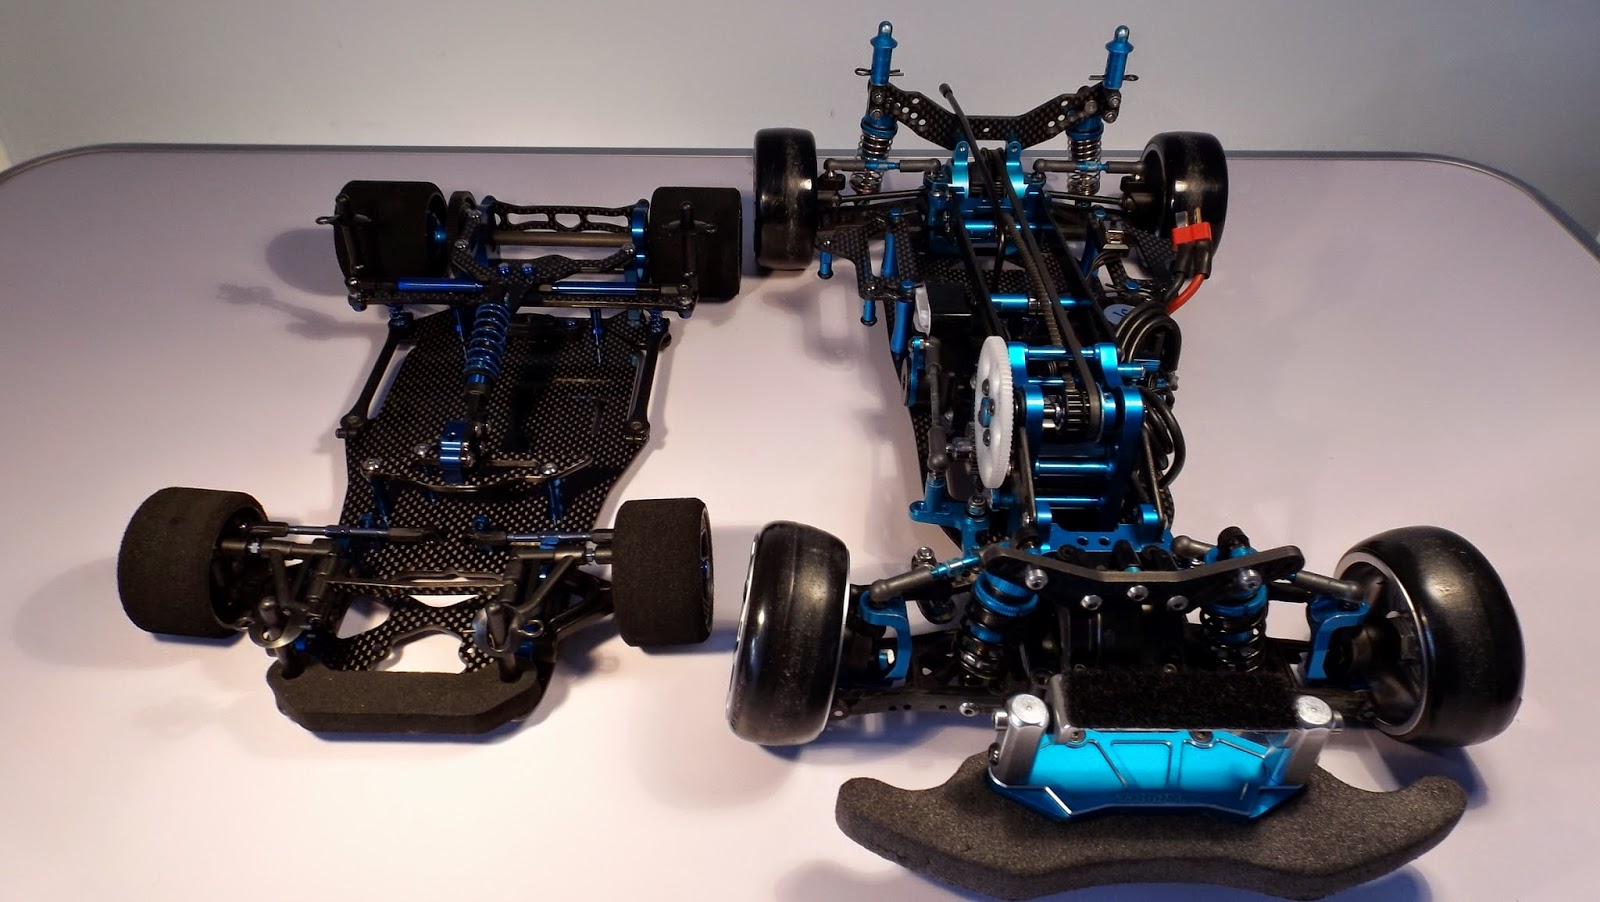
 A pan car. A RC12R5.2 actually. I've always really loved how pan cars look and how simple ( And cheap ) they are and once I found out I can race them locally at a new track, I just had to get one.
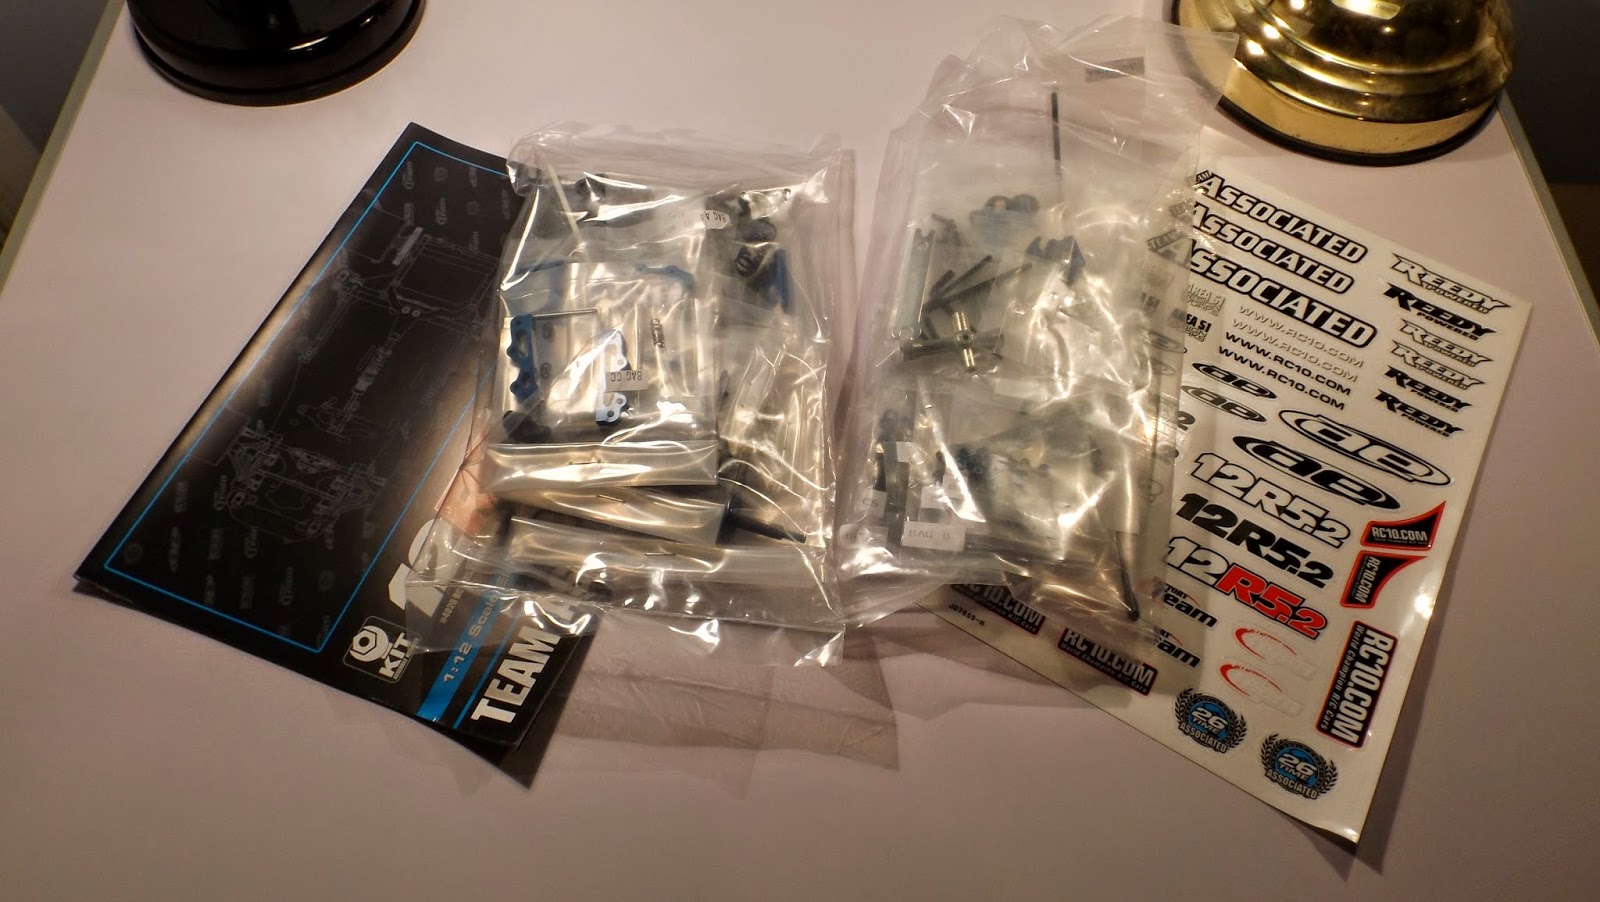
 Now with the box open you get two big bags and that's it really it.
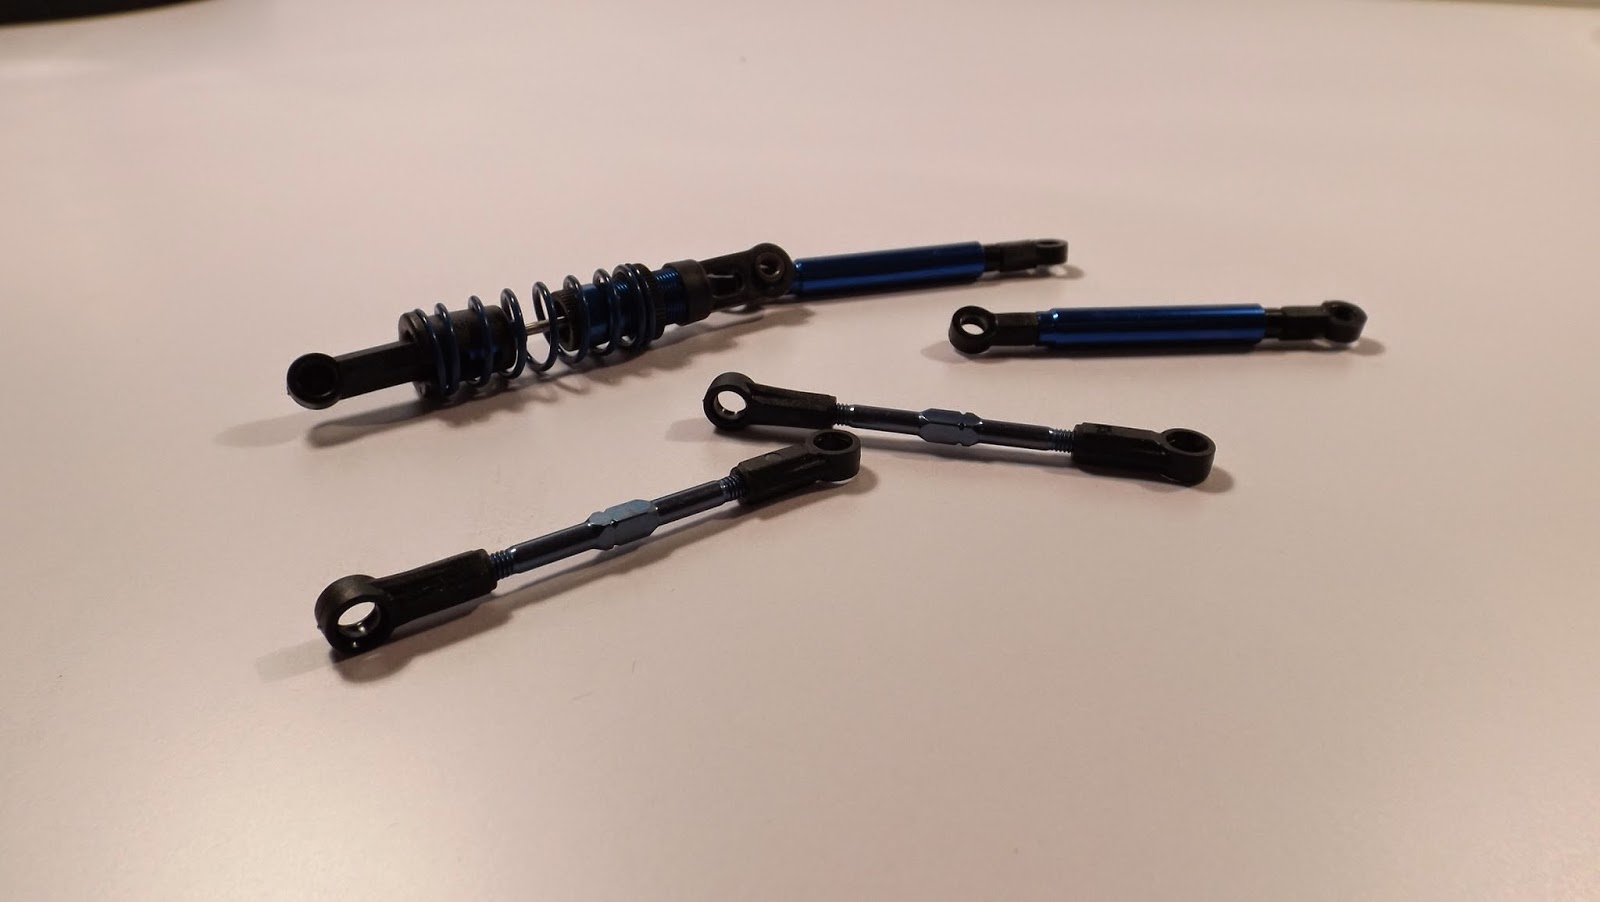
 Page on gives you the main damper, damper tubes and turnbuckles.
 Now since page two uses carbon it's time to seal all of it. Be very careful opening this bag, very sharp edges. Now I use a mix of ways to seal carbon ( Links down below to guides. ) but it pretty much every guide no one talks about sealing countersunk holes. This is actually rather important because having a the hole sealed like this makes for a much stronger car over-all.
Just dab a bit of CA on a Q-tip and carefully brush it on.

http://www.teamcrc.com/crc/modules.php?name=News&file=article&sid=16&mode=&order=0&thold=0 This is my main way of how I seal a chassis or any carbon part.

http://www.rctech.net/forum/electric-road/98346-how-perfect-carbon-fibre-edges.html VenomWorldOrder's tip on using a Q-tip is very important "-let it dry and then make a puddle of CA glue on the newspaper, wet the q tip in the puddle. be careful as the glue will dry quickly. i'd recommend letting it dry. when it drys it starts releasing a smoke DON'T BREATH IT, OR LET IT GET IN YOUR EYES!, then just dip it again in the CA. (i found that once the q tip has a layer of dried glue on it, the glue curing time takes longer, which is recommended because it gives you time to work with it." 
But using  bit of newspaper isn't good. A bit of a plastic bag will work much better. Plastic isn't really porous so it gives the glue a lot longer time to work with, also the glue won't soak into it.

And lastly http://www.competitionx.com/new-to-rc/rc-how-tos/prep-your-carbon-fiber-parts/ is also a good guide.

Anyway back to sanding more bits of carbon and most likely getting cancer.

Oh also, please don't use this as a step by step build. I'm too lazy to do that so I'm just going page by page.